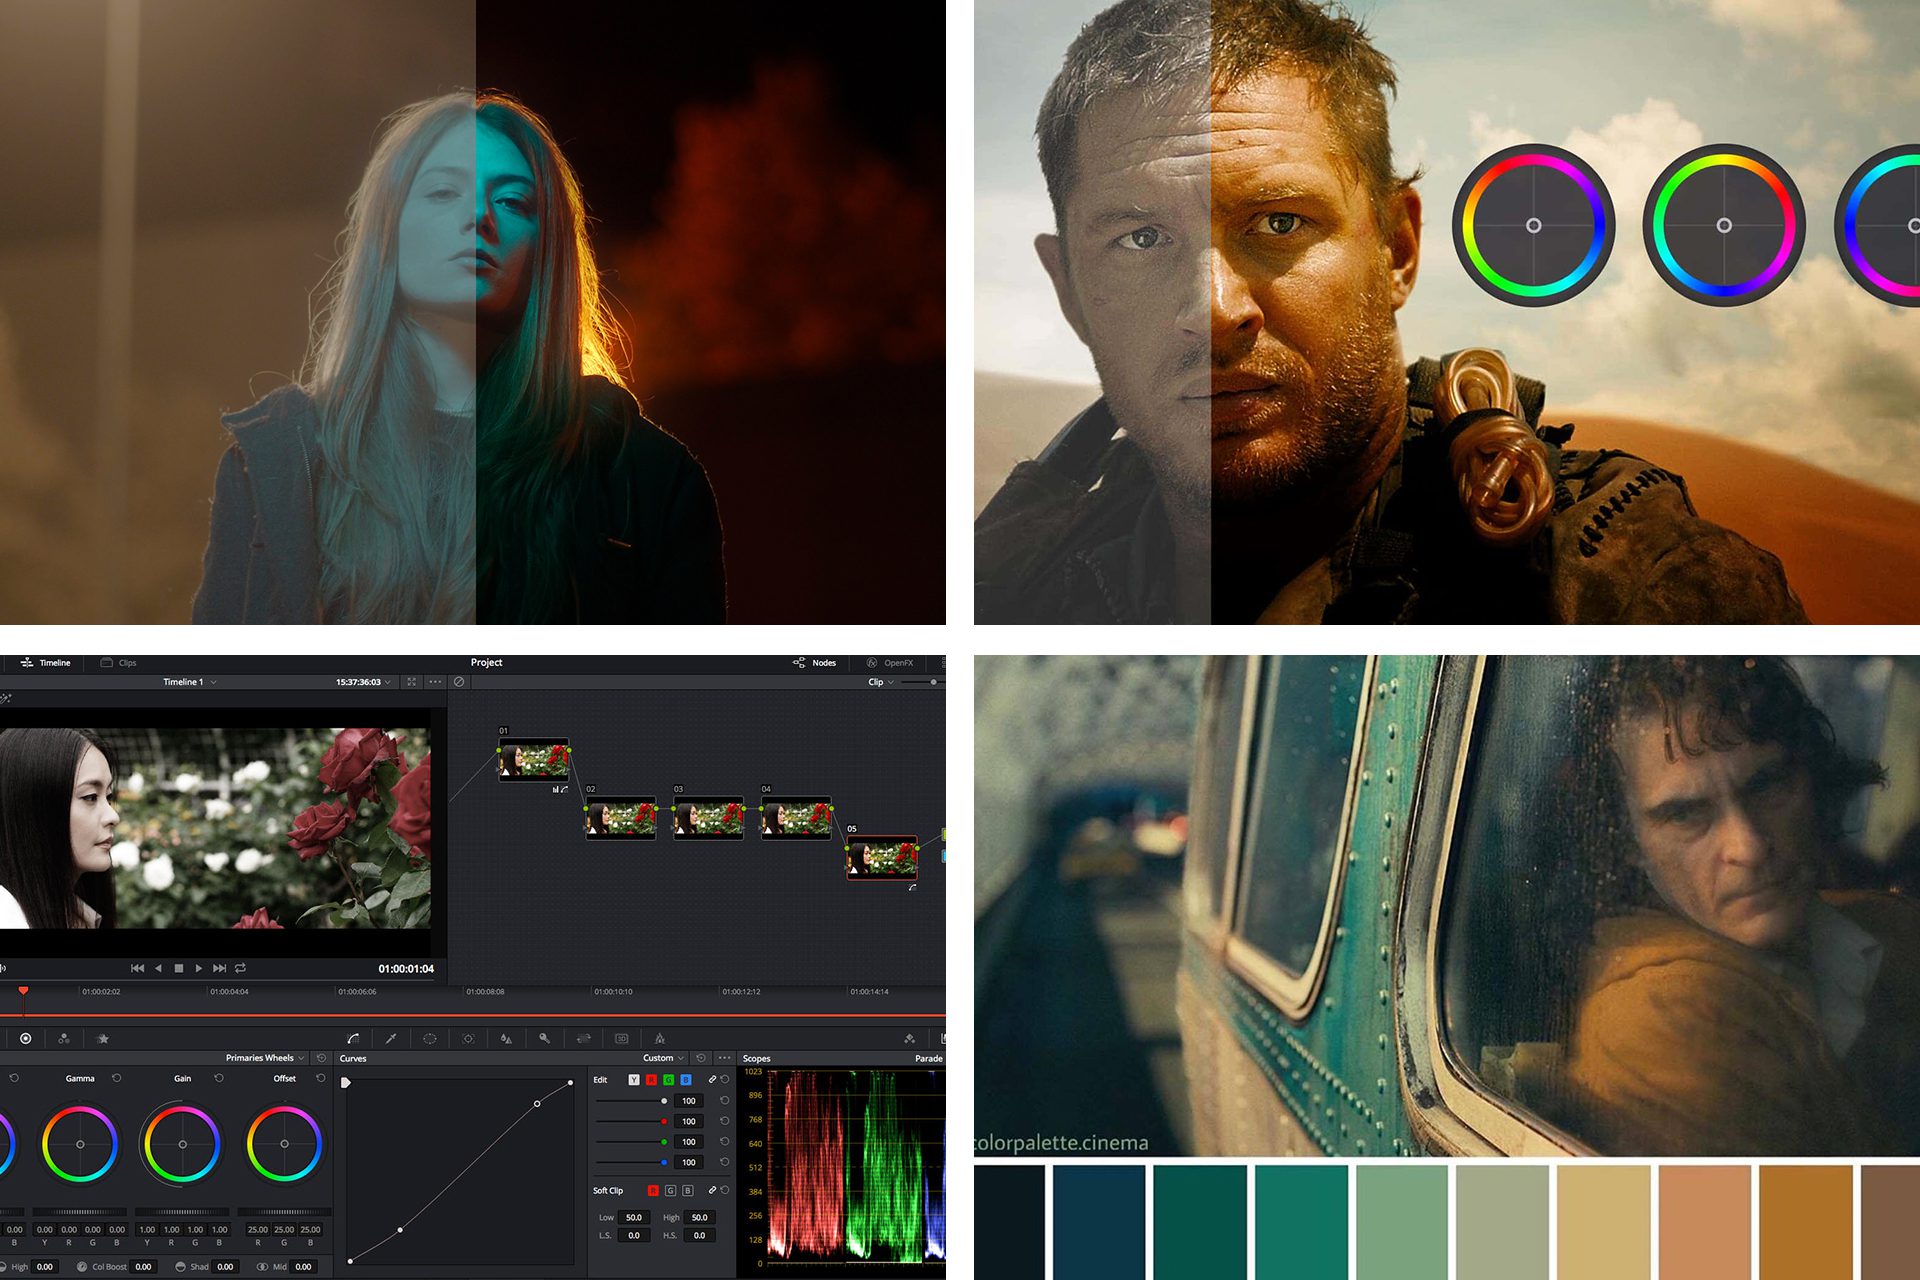
Color correction and color grading are essential to shaping the look and feel of your video. Each stage has its specific role, but they transform raw footage into polished, cinematic visuals. Let’s dive deeper into the processes and techniques involved in each. Some keywords are shown below about color correction and grading.
Color Correction:
Steps in Color Correction:
- White Balance Adjustment:
- What it fixes: Ensures whites appear true white and neutralizes color casts (e.g., footage shot under tungsten light may seem too warm).
- Tools: White balance sliders, color temperature/tint tools.
- How to adjust: Set the color temperature (cooler or warmer) and tint (green or magenta shift) to match the scene’s lighting conditions.
2. Exposure and Brightness Correction:
-
-
- What it fixes: Balances the exposure (lightness/darkness) across all shots to avoid overly dark or blown-out highlights.
- Tools: Exposure, brightness, highlights, shadows, and black/white point sliders.
- How to adjust: Use a waveform monitor to ensure no part of the footage is too dark (crushed blacks) or too bright (clipped highlights).
-
3. Contrast and Dynamic Range:
-
- What it fixes: Adjusts the difference between the darkest and brightest parts of the image, adding depth and definition.
- Tools: Contrast and black/white level adjustments.
- How to adjust: Set contrast using visual reference or waveform scopes. Bring out details in shadows without losing highlight information.
4. Saturation Adjustments:
-
- What it fixes: Ensures the intensity of colors is balanced without oversaturation or desaturation.
- Tools: Saturation and vibrance sliders.
- How to adjust: Increase or decrease the overall color intensity, keeping skin tones natural while ensuring colors don’t look washed out.
5. Balancing Colors:
-
- What it fixes: Neutralizes unwanted tints in the image (for instance, greenish or bluish casts).
- Tools: RGB curves, color wheels, and hue controls.
- How to adjust: Use the RGB parade to check the distribution of red, green, and blue, making sure the footage looks natural and colors don’t skew in any direction.
Color Grading:
Steps in Color Grading:
What it does: Establishes the overall color palette to match the narrative’s mood.
1. Styles:
- Warm tones (orange/yellow) evoke comfort or romance.
- Cool tones (blue/green) create tension, sadness, or detachment.
- Desaturated colors for a gritty, documentary-like feel.
- High contrast for drama and intensity.
2. Using LUTs (Look-Up Tables):
- What it does: LUTs apply a preset color transformation, emulating popular cinematic styles.
- How to use: Apply a LUT that enhances the story’s mood, such as a “Teal & Orange” LUT often used for high-contrast action scenes.
- Customizing LUTs: After applying a LUT, adjust brightness, contrast, and saturation to fine-tune it for your footage.
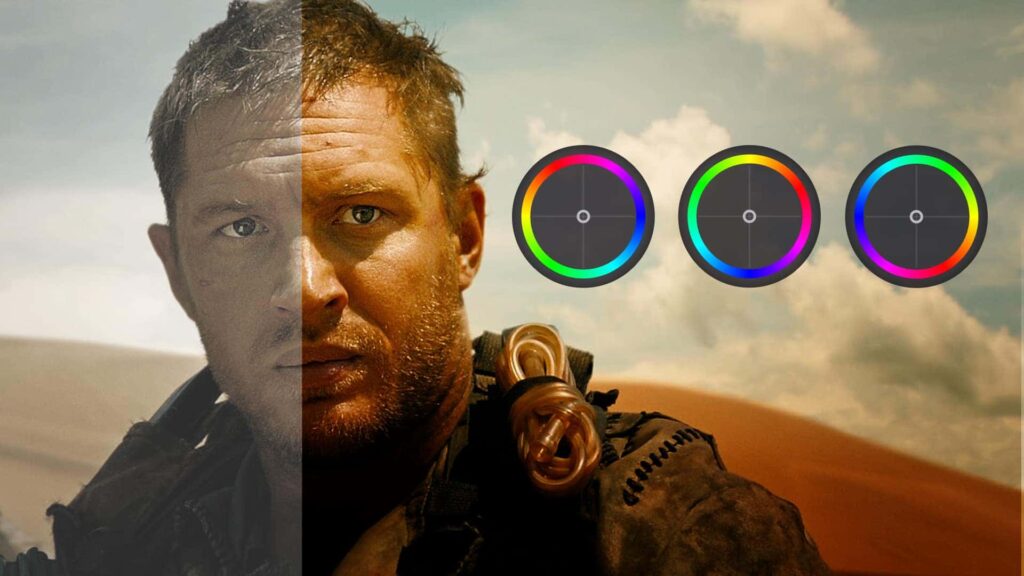
3. Using Color Wheels:
- What it does: Color wheels allow you to adjust the colors of shadows, midtones, and highlights separately.
- How to adjust:
- Shadows: Add cool tones to give shadows a blue or green tint.
- Midtones: Push skin tones towards warm or natural hues.
- Highlights: Slightly warm or cool highlights to match the scene’s lighting.
4. Curves Adjustments:
- What it does: Adjust the contrast and color intensity with more control.
- How to use:
- RGB curves allow individual control of the red, green, and blue channels.
- S-curve for contrast: Slightly dip the shadows and raise the highlights for a cinematic punch.
5. Selective Color Grading (HSL Tools):
- What it does: Adjust specific color ranges in the footage (for example, enhancing the blue sky while keeping the rest of the scene natural).
- How to use: Use HSL (Hue, Saturation, Lightness) tools to isolate a specific hue, such as boosting blue saturation without affecting skin tones.
6.Vignette and Masking:
-
- What it does: Draws focus to a specific part of the scene by subtly darkening the edges or manipulating a specific area.
- How to use: Apply a vignette to guide the viewer’s eye, or use a mask to target adjustments in specific parts of the frame (e.g., making a subject brighter than the background).
Advanced Grading Techniques:
- Day-for-night: Transform daytime footage to look like it was shot at night by lowering exposure, cooling down the colors, and adding blue tints.
- Vintage looks: Desaturate the footage and apply slight sepia tones to create a nostalgic or retro feel.
- Film Emulation: Use film grain and color effects to emulate specific film stocks for an organic, film-like look.
Practical Tips for Color Correction and Grading:
- Use Reference Monitors: Make sure your monitor is properly calibrated for color accuracy to avoid misinterpreting colors.
- Scopes Are Your Friend: Use waveform, vectorscope, and histogram to guide your corrections. Relying on just your eyes can be misleading, especially on uncalibrated monitors.
- Maintain Skin Tones: Natural-looking skin tones are crucial. Focus on keeping them balanced even when applying creative grades.
- Stay Consistent: Apply color correction and grading consistently across scenes, particularly in continuity shots.
Common Styles Achieved Through Color Grading:
- Cinematic Look: High contrast, teal & orange tones, deep shadows, and rich midtones.
- Flat/Desaturated: Lower contrast, minimal saturation, often used for a bleak, moody tone.
- Vibrant and Warm: Boosted saturation, and warmer tones for a lively and cheerful atmosphere.
- High-Key: Bright, low contrast with very little shadows, often used for comedies or light-hearted scenes.
- Low-Key: Dark, moody with deep shadows and low light, typically for suspense or horror.
By mastering both color correction and grading, you can ensure that your video not only looks professional but also aligns with the story, emotions, and visual style you want to convey. Color correction and grading are most important for video editing because it’s an amazing show of the footage. So, Color correction and grading are more significant for video editing.
Tags: color correction and grading, Color Correction And Grading Of Video Editing, color of video editing, Future of Video Editing